Are you social?   We're!
Revit Courses
  • Home
  • Self-Paced Training
  • BIM Blog
  • Contact
  • Free Tutorials
    • English Revit Webinar - Lesson 1
    • English Revit Webinar - Lesson 2
    • English Revit Webinar - Lesson 3
    • Arabic Revit Webinar - Lesson 1

Using guidelines for your design

21/10/2017

1 Comment

 
Picture
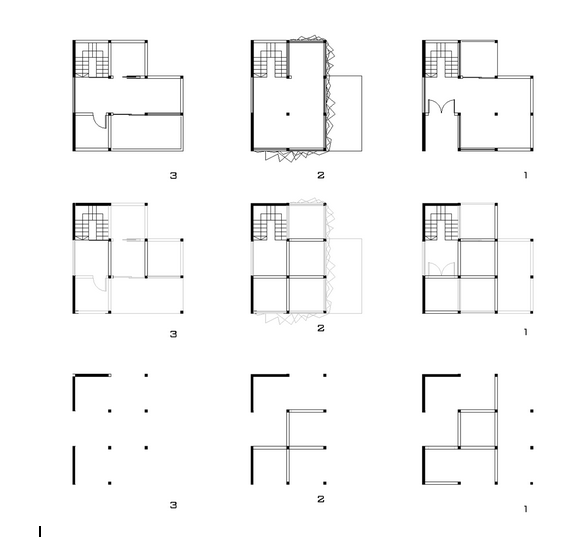
Architectural Design based on a modular grid
When starting a new design project, sometimes you need a reference system or guidelines to align your elements to it. Revit has several reference elements. In this post, I will discuss two of them; Work Plane and Reference Plane.

Work Plane

"A work plane is always active, even if you don't see it"
-A Revit Rule
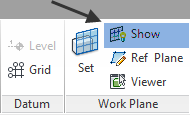
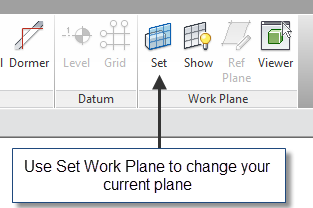
Even if you can't see it, the Work Plane is what you create any new elements upon. If you're in plan view, your work plane is usually the current level. To show the work plane, go to Architecture Tab> Work Plane Panel > Show Work Plane
​
Picture
Picture
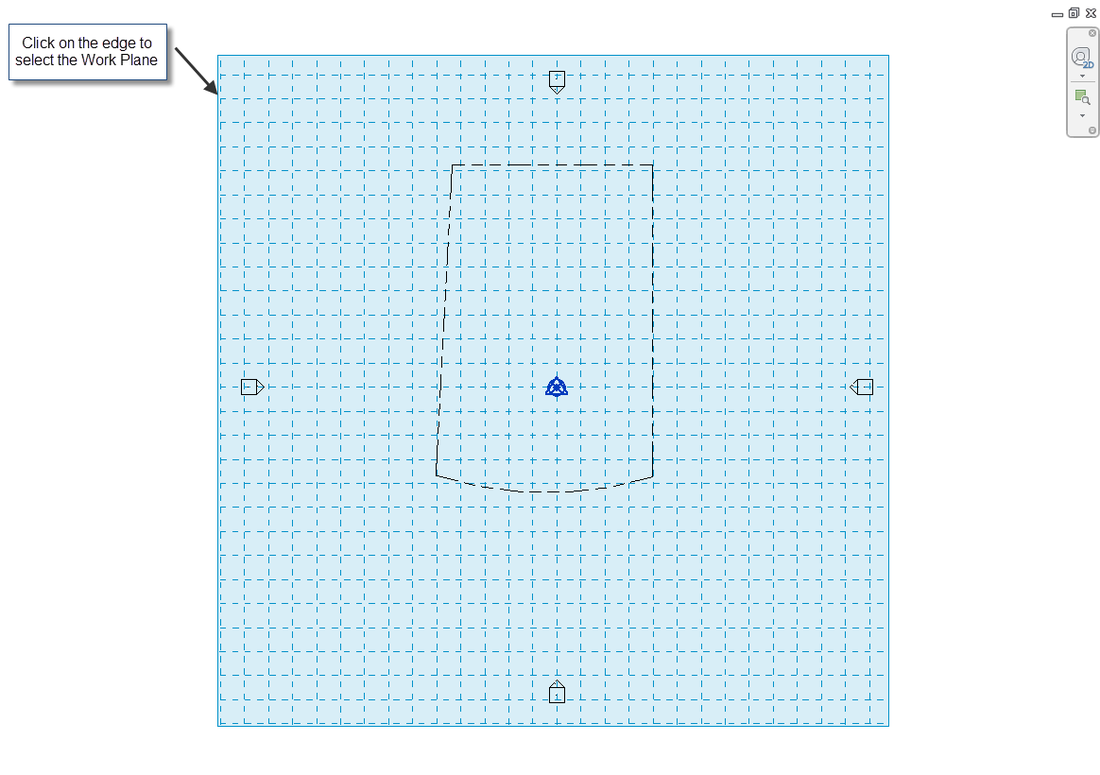
Once you do this, you will see blue grid lines in your view. If you zoom out, you can see its edges and actually select it to customize as needed.
Picture
Picture
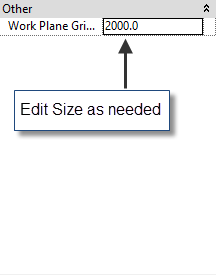
In the properties bar, change the grid to your preference.
Picture
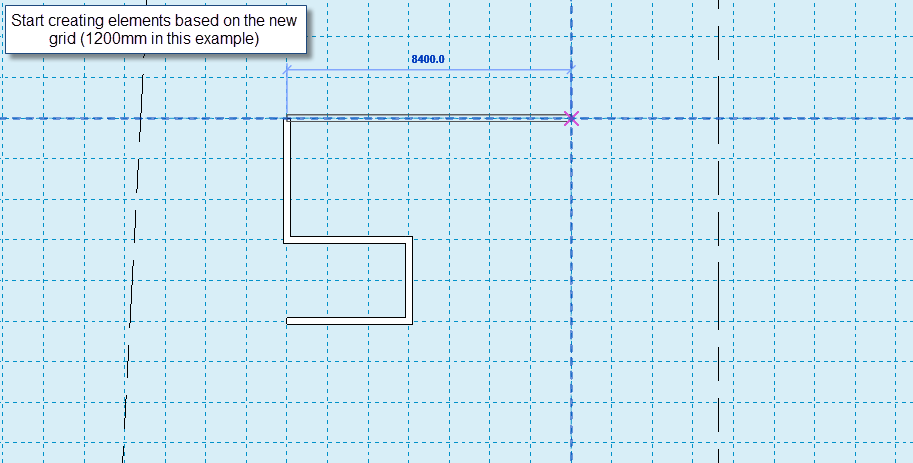
Now you can use the grid as needed to create and align your elements to it.
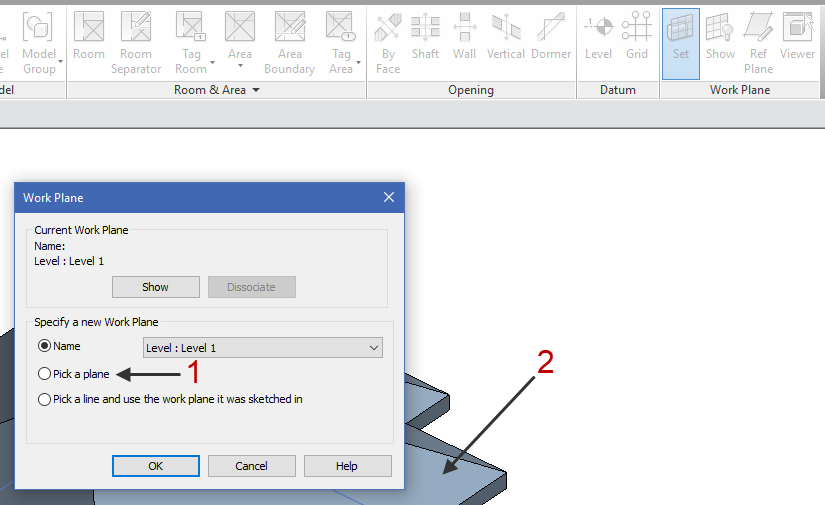
Notice: You can also Set Work Plane to any flat surface in 3D or rotate the work plane when needed.
Picture
Picture
Picture
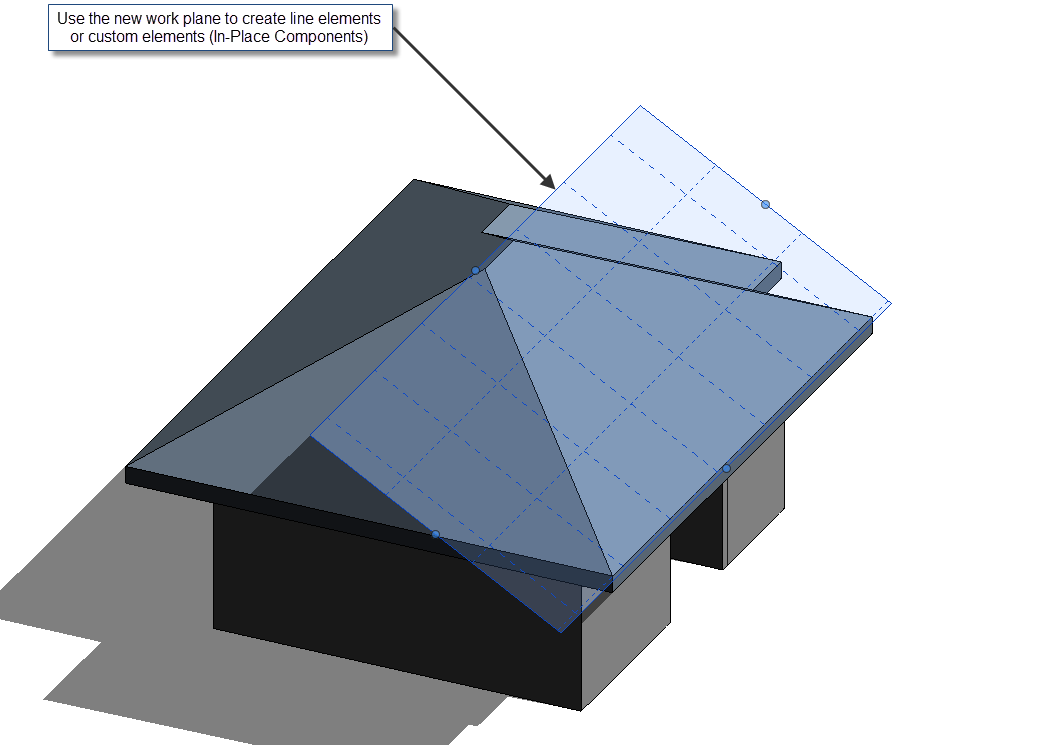
Use the new work plane to create line elements or custom elements (In-Place Components)

Reference Plane

Your Reference Planes are 3D planes that you can create in any 2D view. It may look like a dashed line, but it is actually a 3D plane that you can pick as your work plane. You may use it to identify a major axis in your design, define building setbacks or even as a sketch for staircase placement.
Picture
One of my favorite exercises for using Reference Planes, is attaching a wall to a plane in elevation or section views. Check the example below ...
Picture
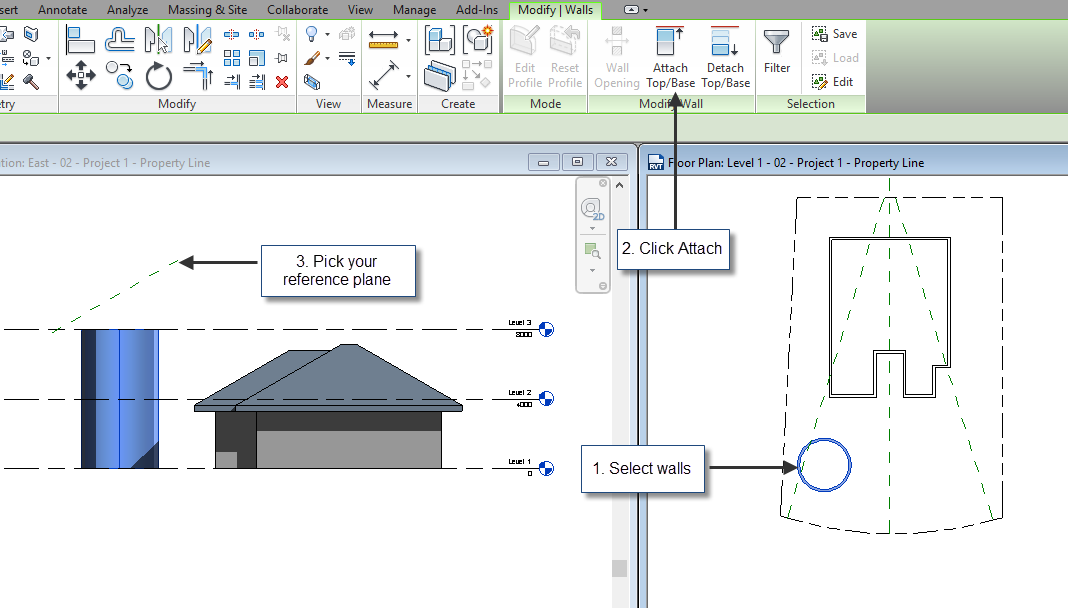
Using Reference Planes as attach target for a curved wall
Picture
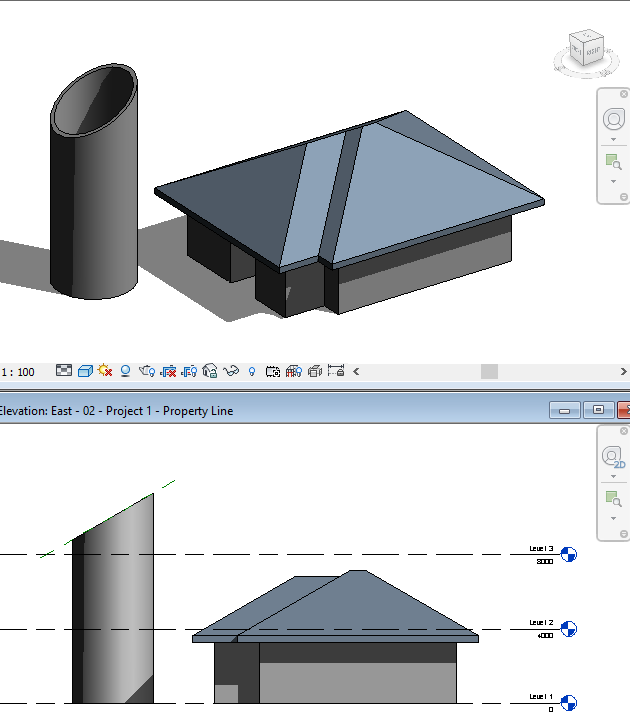
The end result for using attach to Reference Plane

That's it for this week! If you like this post, share it, and don't forget to comment with your suggestions for next week posts. Until next week, see you!

1 Comment

Autodesk Revit Live - Overview

13/10/2017

1 Comment

 
Revit Live is Autodesk latest product for real-time rendering. It transforms your Revit models into immersive visualization experience. You can combine that with virtual reality and you get the best presentation for your ideas.
Picture
To download a trial version, visit www.autodesk.com/products/revit-live/overview

Where to start?

After installation, you get an icon named 'Live' in Revit Add-ins Tab. By simply clicking 'Go Live', your model is automatically uploaded to the cloud, processed and then downloaded to your computer for viewing. The process is fairly smooth and takes only a few minutes. You can then publish the same for viewing on windows or i-Pad.

What to expect

  • The output of the model is fairly smooth and looks great when compared to Revit shaded or realistic views. 
  • Using the click & go mode is easier than you would imagine
  • Automated pathway travel and game-like controls are impeccable.
  • You get what you prepared, no less and no more! You should prepare your model well before the process, because once you're in the Live editor, you cannot change materials, models or design of course!
1 Comment

1005 - Revit Tip of The Week - Working with Design Options

6/10/2017

2 Comments

 
In many cases of design, you come to a point where you need to consider options. What shape should the stair be, which entrance side is better, what is the best furniture layout? 

The best answer to this issue, is creating design options in Revit. This feature lets you keep using the same file, explore different layouts, create different views to share with others, and ,at the end, approve the best option when you want to.
Picture

Setting-up a design option set

Begin by doing the following:
  • Go to Manage Tab, Design Options Panel, Manage Design Options
  • Click New Option set, and rename it as needed
Picture
Picture
  • Create the number of required options and name it properly
Picture
Once you're done with the above steps, click Close.
Now, select the model elements that will be affected by the desired design options, Choose add to option set from the ribbon menu as indicated below, mark the options where you want to keep these elements on and click OK.
Picture
Picture
You're now ready to change your model elements by selecting the desired option from the lower right tab. Once you're done, you can switch back to 'Main Model' for printing your changes.
Picture
On the next week's TIP, I will show you how to create separate views and sheets to print both options and what you should do when you want to accept one option and discard the others. Share this free tutorial with the community, and don't forget to comment below if you have any questions.
2 Comments
<<Previous
    Picture

    Download REVIT introduction FREE Guide Now!
    ​Available only from Revit-courses.com

    ABOUT THE Author

    MOSTAFA SABER
    ​Certified Autodesk Instructor
    Professional Architect 
    B.Sc. of Architectural Engineering 2004, Ain Shams University, Cairo
    Autodesk Revit Architecture Professional 2014, 2015

    Picture
    View my profile on LinkedIn

    Archives

    November 2019
    October 2019
    September 2018
    April 2018
    December 2017
    November 2017
    October 2017
    September 2017
    January 2017
    December 2016
    June 2016
    March 2015

    Categories

    All
    Free Revit Tutorials For Beginners
    Revit Tip Of The Week

    RSS Feed

Check out our social media pages for valuable content! 
All copyrights reserved to Revit Courses & Mostafa Saber


Hours

24x7

Telephone

+971 568885951

Email

info@revit-courses.com