When starting a new design project, sometimes you need a reference system or guidelines to align your elements to it. Revit has several reference elements. In this post, I will discuss two of them; Work Plane and Reference Plane.
Work Plane
"A work plane is always active, even if you don't see it"
-A Revit Rule
-A Revit Rule
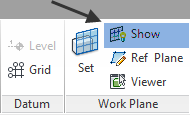
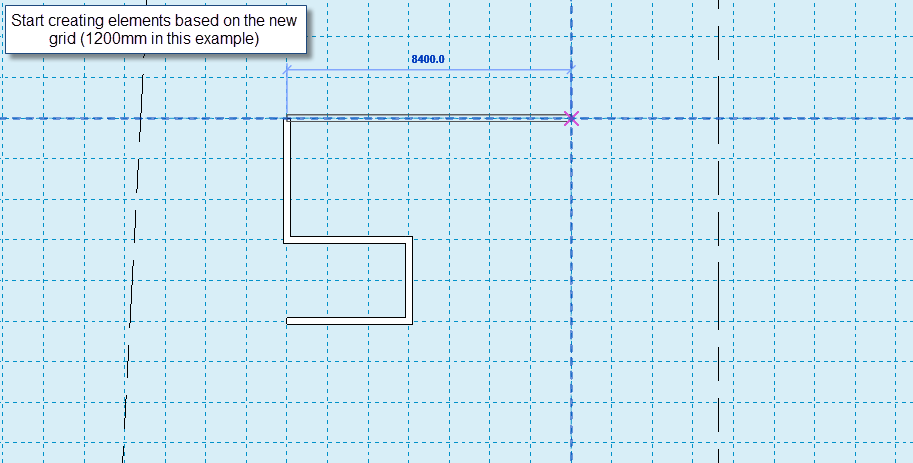
Even if you can't see it, the Work Plane is what you create any new elements upon. If you're in plan view, your work plane is usually the current level. To show the work plane, go to Architecture Tab> Work Plane Panel > Show Work Plane
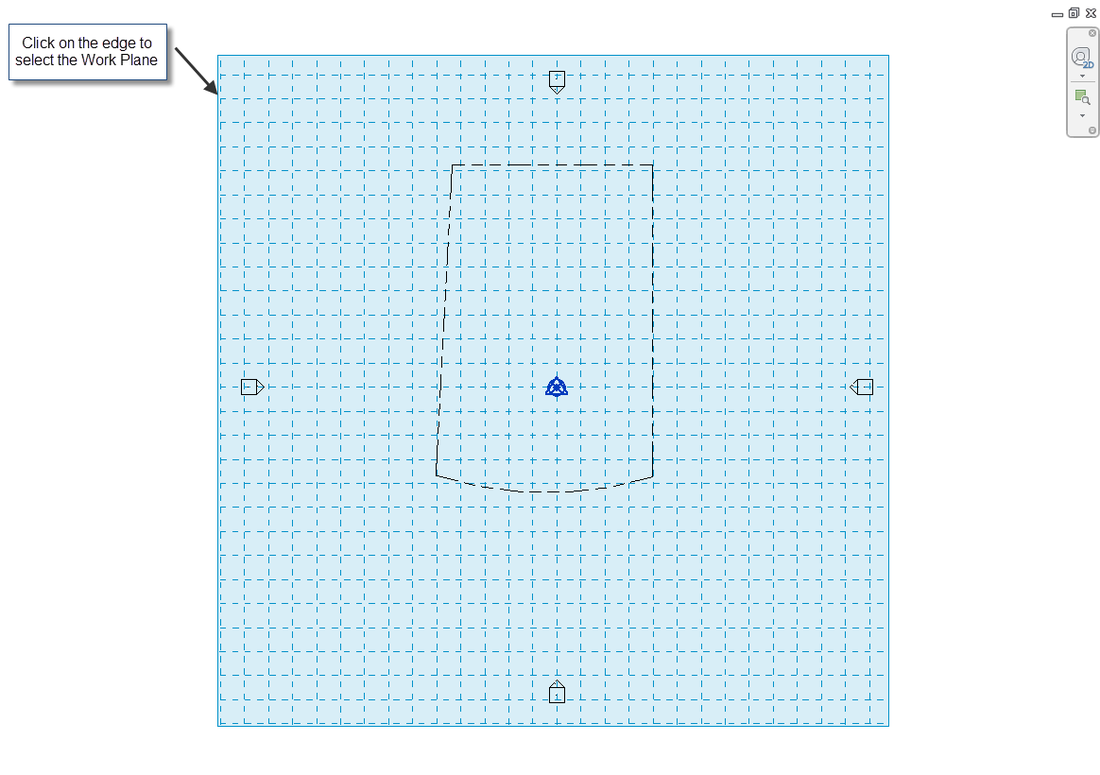
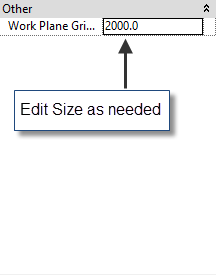
Once you do this, you will see blue grid lines in your view. If you zoom out, you can see its edges and actually select it to customize as needed.
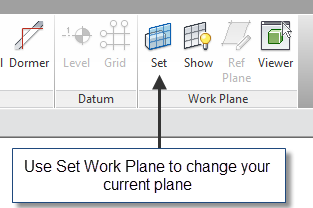
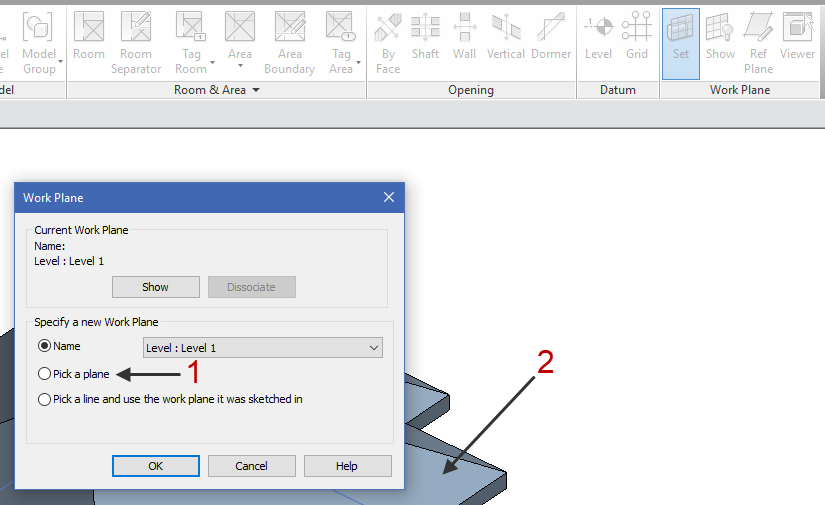
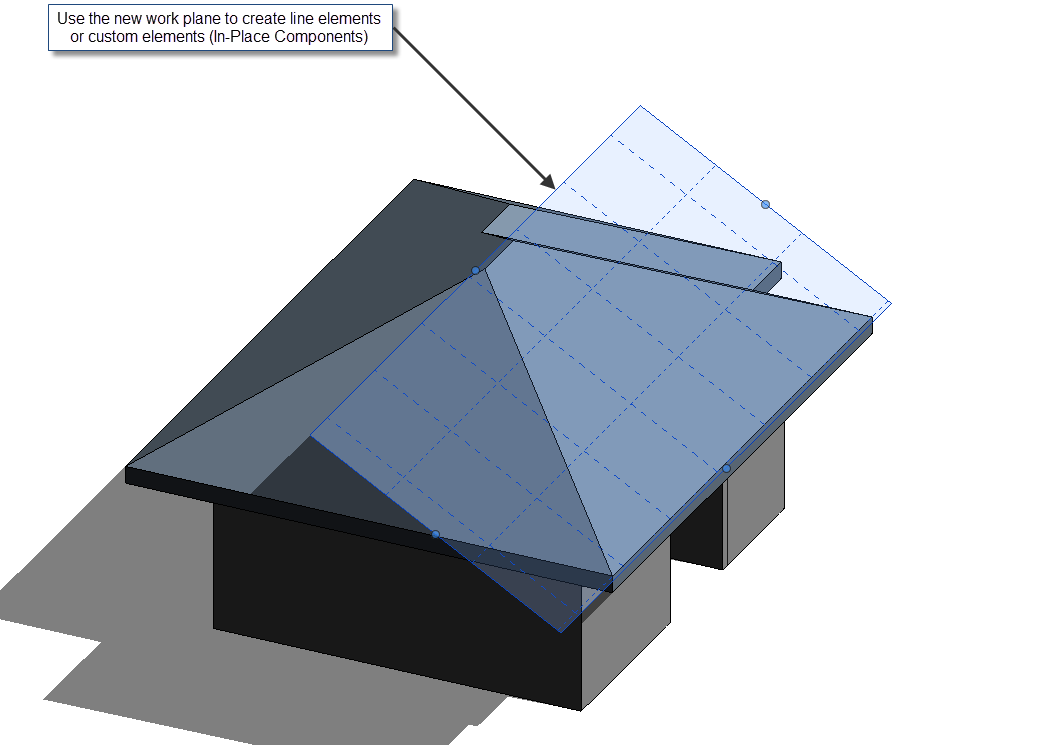
Notice: You can also Set Work Plane to any flat surface in 3D or rotate the work plane when needed.
Reference Plane
Your Reference Planes are 3D planes that you can create in any 2D view. It may look like a dashed line, but it is actually a 3D plane that you can pick as your work plane. You may use it to identify a major axis in your design, define building setbacks or even as a sketch for staircase placement.
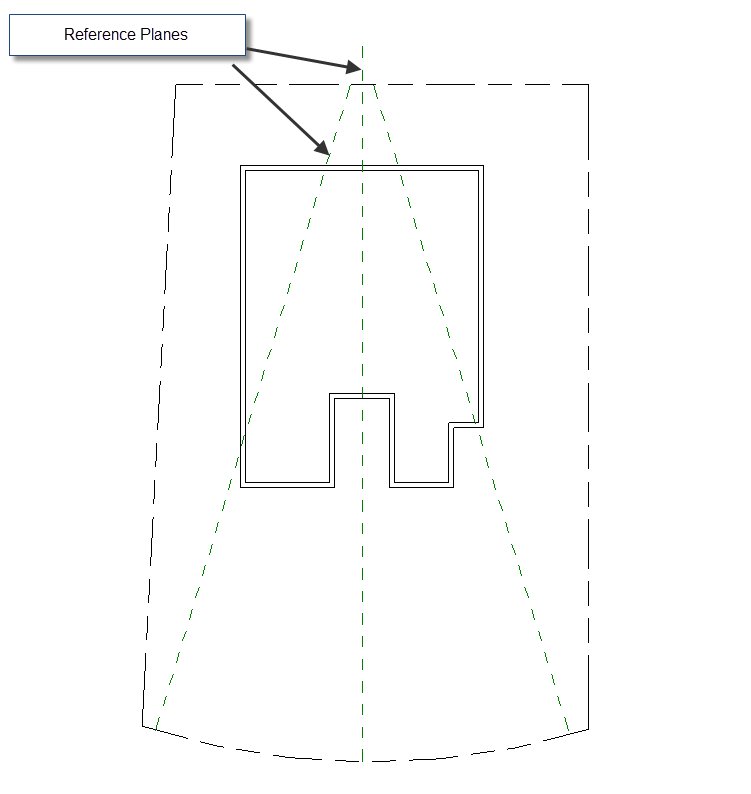
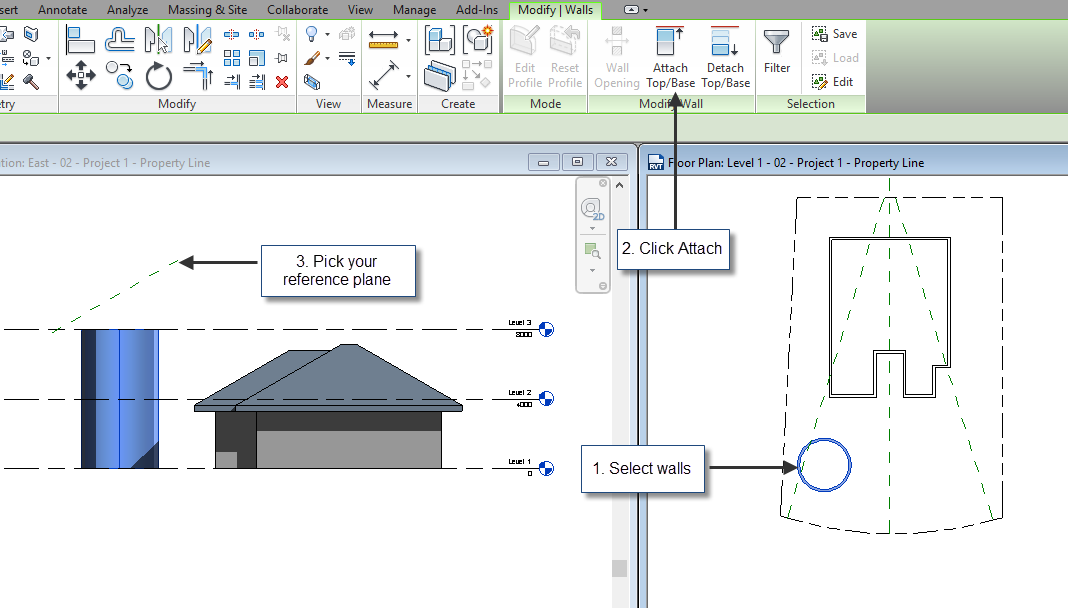
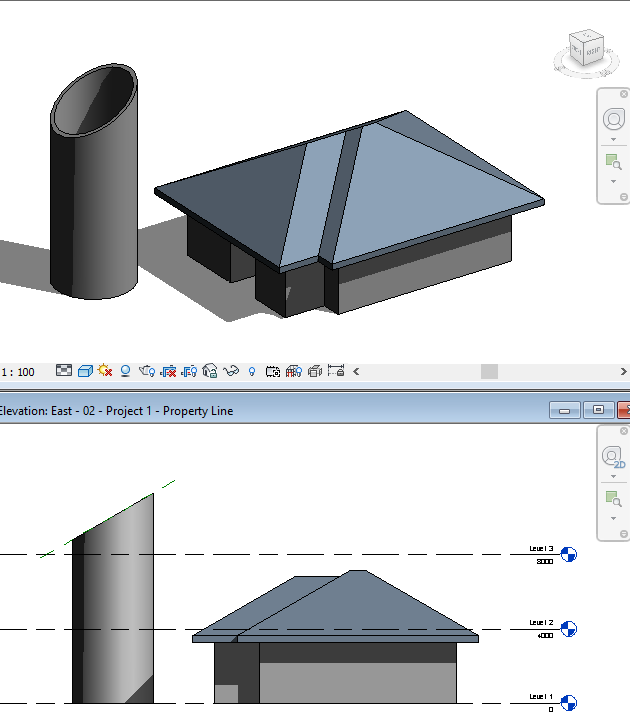
One of my favorite exercises for using Reference Planes, is attaching a wall to a plane in elevation or section views. Check the example below ...
That's it for this week! If you like this post, share it, and don't forget to comment with your suggestions for next week posts. Until next week, see you!




 RSS Feed